
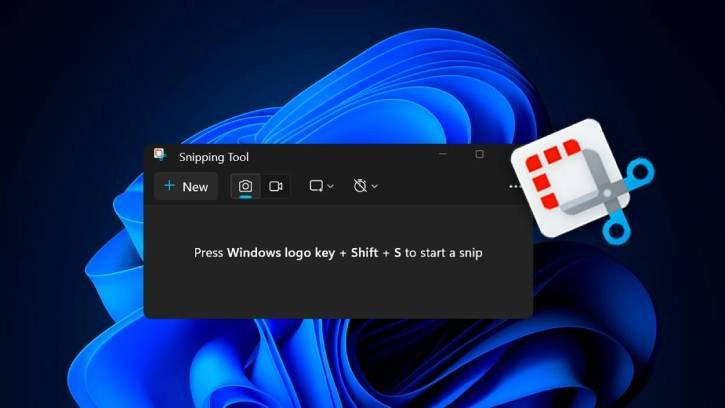
The Snipping Tool in Windows 11 has introduced a new ‘Draw & Hold’ feature that allows you to easily draw lines and shapes on captured screenshots. When this feature is enabled, simply draw a rough rectangle or arrow, and it will automatically be transformed into neat, straight lines and shapes.
The Snipping Tool already has options to draw lines and shapes, but you had to click on the Shapes option and select the desired shapes and lines. With the latest update, this process has been simplified.
Now, if you hold your cursor or digital pen (stylus) still for a moment, Snipping Tool will automatically recognize your intention to convert your drawing. You can then resize, move, or adjust the shape as needed before clicking away to confirm the changes.
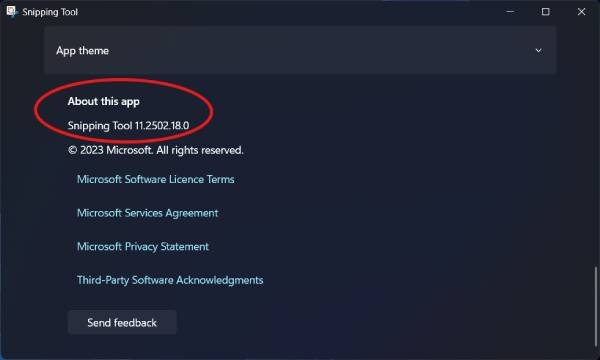
The ‘Draw & Hold’ option is in version 11.2502.18.0 of Snipping Tool. To check the version of the Snipping Tool you have, follow these steps:
- Open the Snipping Tool.
- Click on the three dots in the top right corner.
- Select “Settings” from the dropdown menu.
- Look at the top right corner under “About this app” to see the version number.
- Make sure you have version 11.2502.18.0 or later to access the ‘Draw & Hold’ option.
How to Use the New ‘Draw & Hold’ Feature in Snipping Tool
1. Open the Snipping Tool and capture a screenshot of any content on your screen.
2. If the image does not automatically open in the app, click on the toast notification that says “Mark up and share” to access your image.
3. Select the pen tool and draw a line, arrow, rectangle, or oval over the image, but do not release the shape.
4. Hold your cursor or pen still for a moment to convert your stroke into a well-formed shape.
5. You can then resize, move, or adjust your shape as needed before clicking away to let the ink dry.
For your information, currently this feature is available Windows Insider users. If you’re not part of the Windows Insider program, you might have to wait a few more weeks before this feature becomes available in the regular, stable version of the app.