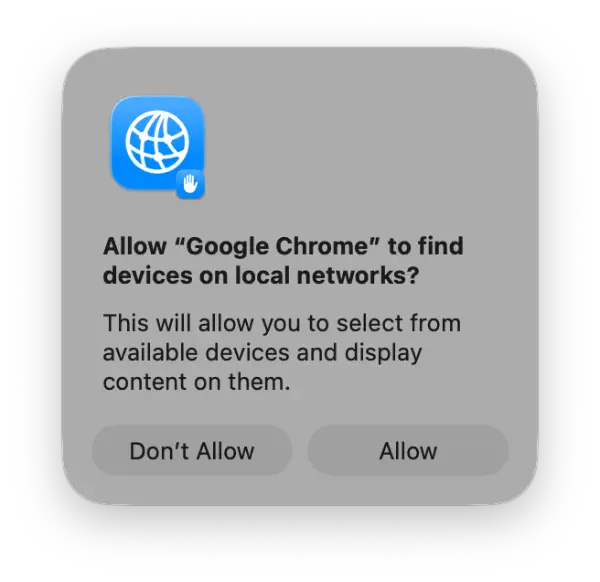
Google Chrome users on macOS are experiencing persistent issues with local network permission prompts. Even after denying access, the notification continues to reappear, disrupting the user experience. When checking System Settings > Privacy & Security > Local Network, multiple Chrome entries appear that can only be toggled on or off—they cannot be deleted.
This problem affects both newer and older macOS versions, including the latest Tahoe release. The issue is specific to Chrome and stems from how the browser manages local network permissions in macOS.
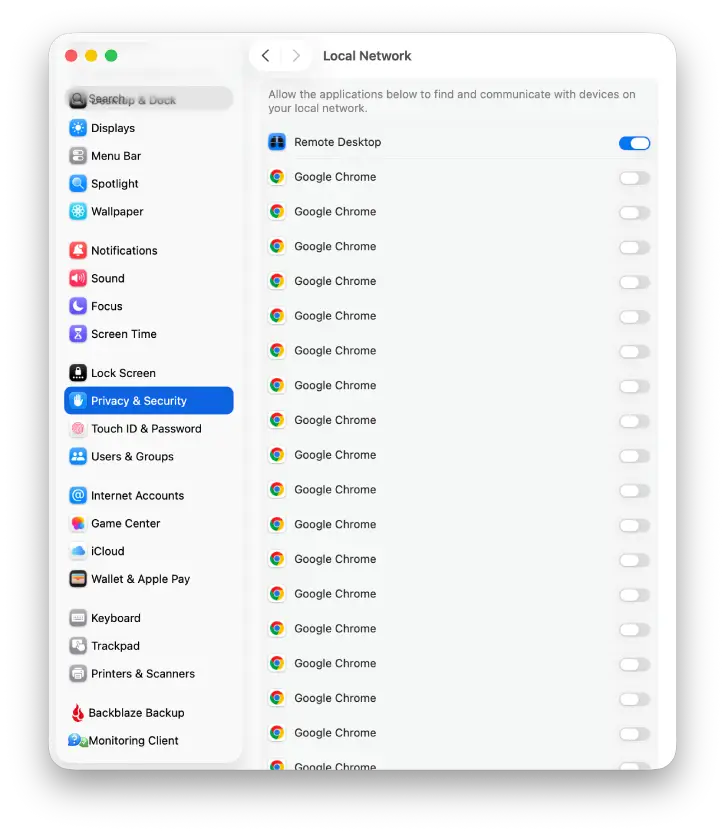
Table of Contents
Why Multiple Google Chrome Entries Happens on Mac
Chrome’s local network permission system can create duplicate entries in macOS’s preference files. These entries persist even after uninstalling or reinstalling the browser, causing the repeated prompts and cluttered permissions list.
How to Remove Multiple Google Chrome from Mac?
Two methods can resolve this issue, ranging from safer to more technical. Both involve resetting local network permissions by removing preference files. Choose the method that best suits your comfort level.
Before you begin, back up all your data before proceeding. Resetting local network permissions may delete firewall configurations, though your WiFi connection typically remains intact.
Method 1: Via Recovery Mode (Recommended)
This method is safer and doesn’t require disabling System Integrity Protection.
1. Boot into Recovery Mode: Hold the Power button (Apple Silicon variant) or press Cmd+R (Intel Macs variant) during startup.
2. Next, click Options, select your account, enter your password, then navigate to Utilities > Terminal.
3. Run the reset commands:rm "/Volumes/Macintosh HD/Library/Preferences/com.apple.networkextension.plist"
rm "/Volumes/Macintosh HD/Library/Preferences/com.apple.networkextension.uuidcache.plist"
Note: Replace “Macintosh HD” with your actual drive name if you’ve renamed it.
4. Restart your Mac and check System Settings to verify the duplicate Chrome entries are gone.
Method 2: By Disabling SIP (System Integrity Protection)
This method is more technical but offers an alternative approach.
1. Boot into Recovery Mode: Hold the Power button (Apple Silicon) or press Cmd+R (Intel Macs) during startup.
2. To disable SIP, open Terminal and run: csrutil disable
3. Restart your Mac.
4. Next, run the reset commands. To do so, open Terminal from Applications > Utilities and enter:sudo rm /Library/Preferences/com.apple.networkextension.plist
sudo rm /Library/Preferences/com.apple.networkextension.uuidcache.plist
(Enter your password when prompted.)
6. Now, re-enable SIP. To do so, boot back into Recovery Mode, open Terminal, and run: csrutil enable
7. Restart your Mac.
Post-Recovery Steps
After using either method, you’ll need to reconfigure some system settings:
Local Network Permissions: Open apps individually to re-trigger permission prompts. Chrome will request local network access again—you can now grant or deny as needed.
Firewall Settings: Navigate to System Settings > Network > Firewall, turn it back on, and reconfigure any custom rules you had previously set.
Network Filters & Proxies: Re-enter any VPN, proxy, or filter settings manually, or open the relevant apps to retrigger permission prompts.
Network Extensions (macOS Tahoe): Go to System Settings > General > Login Items & Extensions > Extensions > Network Extensions and re-enable any ad blockers or security extensions you use.
Expected Results
Once complete, the duplicate Chrome entries in System Settings > Privacy & Security > Local Network will be removed, and the recurring permission prompts should stop appearing. You’ll have a clean slate to manage Chrome’s local network permissions going forward.