To play games like Battlefield 6 on a Windows 11 PC, it is essential to have Secure Boot enabled. This feature enhances security and supports new anti-cheat measures against evolving cheat tactics. If Secure Boot is disabled, you may encounter the error message “Secure Boot is not enabled” when playing Battlefield 6.
In this guide, we will learn how to enable Secure Boot on a Windows 11 PC. Note that if you’re using a newer system, this feature might already be enabled automatically. On older systems, you need to enable it manually.
Before we dive into the steps, let’s first check whether Secure Boot is enabled on your Windows 11 PC. Here is how to check it.
Table of Contents
How to Verify if Secure Boot is Enabled on a Windows 11 PC?
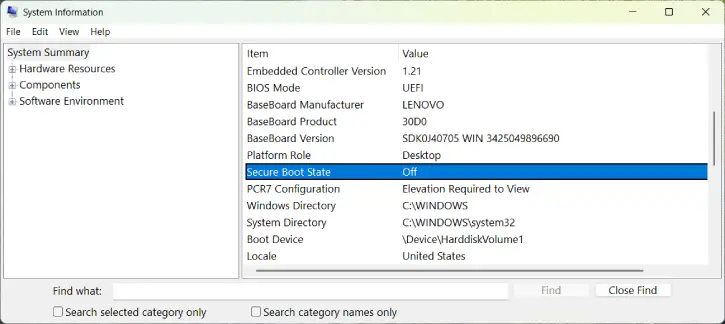
1. Open the Start menu and type “System Information” in the search bar.
2. Select the System Information app from the search results to open it.
3. In the left pane, click on “System Summary.”
4. Look for the “Secure Boot State” entry and verify that it is set to “On.”
After completing the above steps, if you find that Secure Boot is disabled, you will need to follow the instructions to enable it in the UEFI firmware settings in BIOS.
Before get into the subject let us know what is Secure Boot and why it is important in games like Battlefield 6.
What is Secure Boot and Why it is Important for Battlefield 6?
Secure Boot is a security feature found in the Unified Extensible Firmware Interface (UEFI). It makes sure that only trusted software runs when your computer starts up. This helps protect your system from harmful software like rootkits and bootkits, as well as cheats used in games.
Windows 11 suggests that you turn on Secure Boot for better security, but it might not be enabled by default. You may need to go into your system settings to activate it for the best protection.
In some rare cases, turning on Secure Boot can cause issues with older hardware or non-Windows operating systems. If you run into problems, you might have to turn it off temporarily.
How to Enable Secure Boot to on Windows 11?
1. Open Settings and click on System.
2. Click on the Recovery option.
3. Next to Advanced Startup, click the Restart Now button.
4. When prompted, click the Restart Now button again.
5. Select Troubleshoot.

6. Choose Advanced options.
7. Select the UEFI Firmware Settings option.
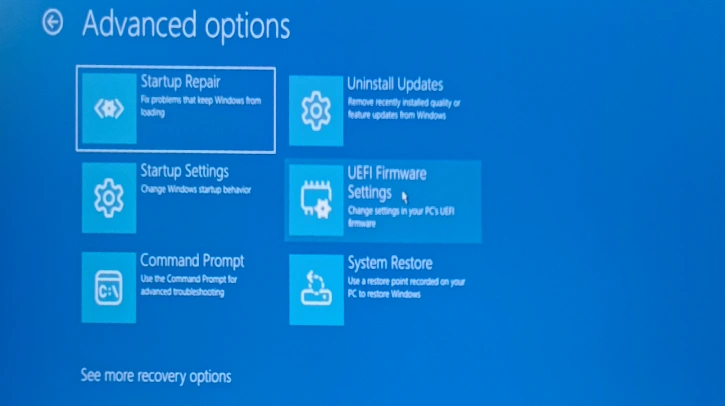
8. Click the Restart button.
9. Once in the firmware settings, navigate to the Advanced, Security, or Boot Settings page, depending on your motherboard.
10. Find the Secure Boot option and set it to Enabled.
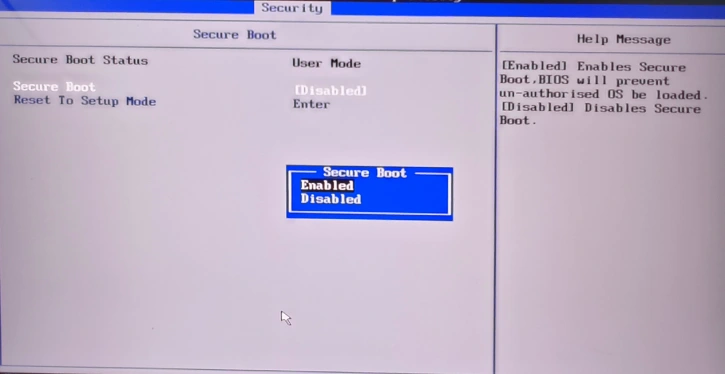
11. Save your changes.
After you follow the steps, your computer will have the Secure Boot feature turned on. This activation is necessary for running Battlefield 6 smoothly on Windows 11, ensuring better security and compatibility for your gaming experience.