

Compatibility Mode in Windows 11 allows users to run old apps and games on their computer. This feature is usually used to run apps and games designed for earlier versions of Windows, and helps to address any glitches or performance issues. If you own an outdated software, you can use the Compatibility Mode to run it on your Windows 11 PC.
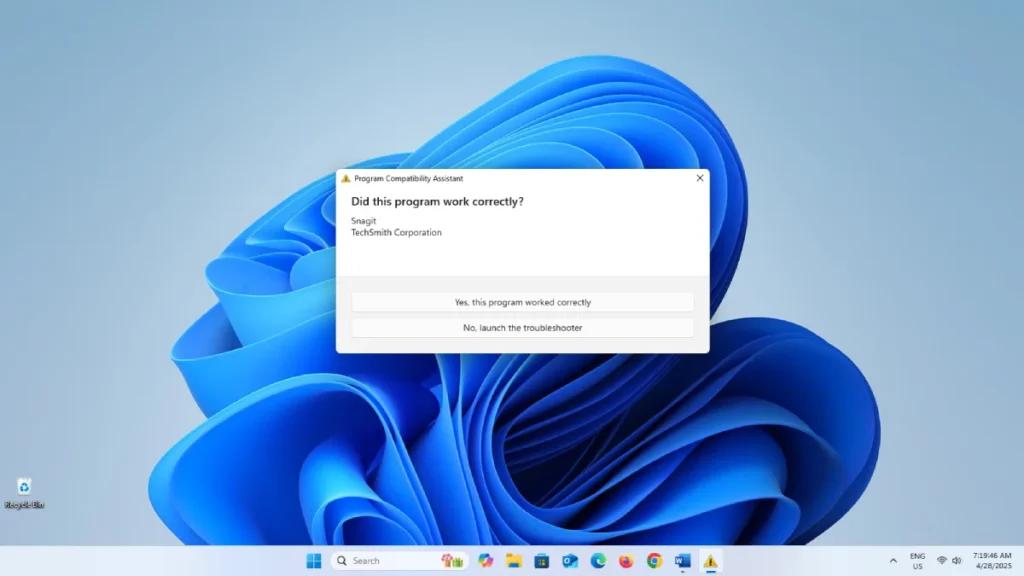
In this guide, let us learn how to enable and run an old app or game in Compatibility Mode on Windows 11. So, you can get back to work your your old, favorite app without a crash or performance issue.
Advantages of Using Compatibility Mode?
Compatibility Mode is a built-in feature in Windows that allows users to run apps and games in a simulated environment of previous Windows versions. This can be particularly useful for legacy software that may not be fully compatible with the latest operating system updates.
Common issues that arise with old apps or legacy games on Windows 11 are not starting or displaying error messages and some features not working. Compatibility Mode may fix them well.
If your program was designed for an older version of Windows, by utilizing this feature, you can enhance your experience with the software on Windows 11.
ALSO READ: How to Install Apps from Unknown Publishers on Windows 11
How to Launch Old Apps in Compatibility Mode on Windows 11
1. First, open Windows Search, type the name of the old program, and select the “Open File Location” option.
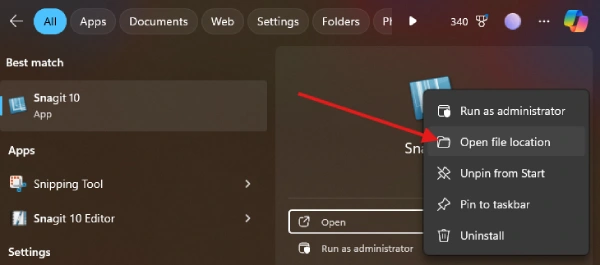
2. Next, right-click the app or game shortcut icon and choose “Properties.” In the window that opens, go to the “Compatibility” tab.
3. Now, check the box for “Run this program in compatibility mode for.”
4. From the drop-down menu, select the version of Windows you want to use to launch your program, such as Windows XP, Windows 7, Windows Vista or Windows 8.
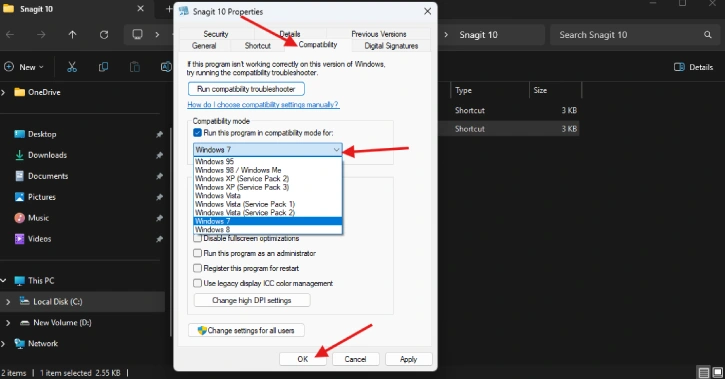
5. You can also adjust other compatibility options in the same window, including:
- Reduced Color Mode [This option allows the use of 16-bit color schemes for older programs.]
- Run in 640 x 480 Screen Resolution [This setting lowers the screen resolution for very old apps and games].
- Disable Fullscreen Optimizations [This option helps fix display performance issues.]
6. Finally, click “Apply” at the bottom of the window, then click “OK.”
7. To launch your program in compatibility mode, double-click its shortcut. It will run with the settings you configured.
Note: If you want to disable compatibility mode in the future, right-click the program, select “Properties,” go to the “Compatibility” tab, and uncheck “Run this program in compatibility mode for.” Then click “Apply” and “OK.”
What if Your Program Doesn’t Work in Compatibility Mode?
If your app or game still doesn’t work after enabling compatibility mode, try the following solutions:
Use the Compatibility Troubleshooter: Windows 11 has a built-in troubleshooter to find and fix compatibility issues automatically.
To do it, right-click the app, select “Show more options,” then “Troubleshoot compatibility.”
If you don’t see that option, go to “Properties,” open the “Compatibility” tab, and select “Run compatibility troubleshooter.” Wait for Windows to identify and resolve any issues.
Use a Virtual Machine: For very old apps or games, consider running them in a virtual machine with Windows 7 or Windows XP.
That is all how to run an old app or game in Compatabilty mode in Windows 11. Hope you enjoy this article, and any issue using this guide drop a comment below.

