

Internet connection issues are a common occurrence on Windows computers, and there can be various reasons behind them. DNS cache, faulty network devices and corrupted Winsock settings are the main reasons for no or inconsistent internet connectivity on a Windows 11 PC. When websites are not reachable or internet connection is inconsistent, clearing DNS cache can fix the problem.

Corrupted DNS cache is one of the main reasons for internet connection issues on a Windows 11 computer. In such cases you will not be able access certain websites. The solution to fix DNS (domain name system) related issue on a Windows 11 computer is to clear the DNS resolver cache.
There are the three most popular methods to clear the corrupted DNS cache on Windows 11, and you can try any one of them to fix the internet connection issue.
How to Clear DNS Cache in Windows 11
Method 1: Using Flusdns Command
1. Open Command Prompt as administrator on your computer.
2. Type “ipconfig /flushdns” (without quote) in the Command Prompt and press Enter.
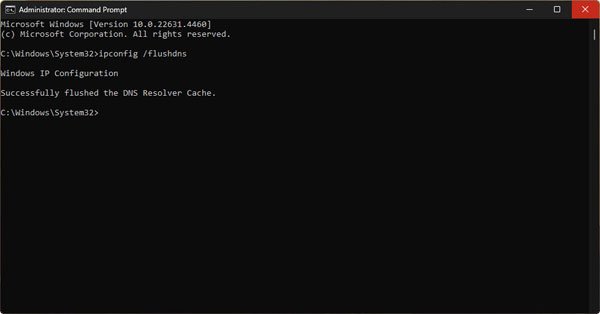
3. It will clear the DNS cache on your Windows computer.
Method 2: Using DnsClientCache PowerShell command
1. Open PowerShell as administrator on your computer.
2. Enter the command “Clear-DnsClientCache” and press Enter.
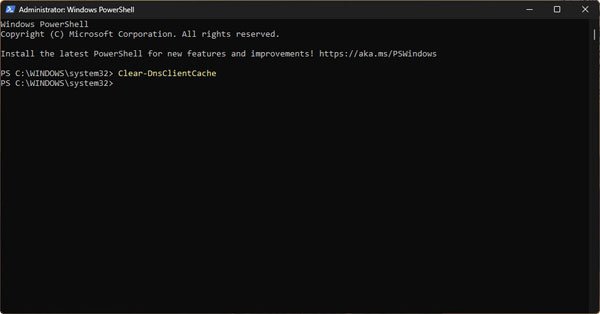
3. It will flush the DNS resolver cache on your Windows PC.
[The command will execute successfully without displaying any message]
Method 3: Using the Run Command Box
1. Open the Run command box using the Win + R shortcut key.
2. Next, type “ipconfig /flushdns” command.
3. Now, press Ctrl + Shift + Enter keys together.
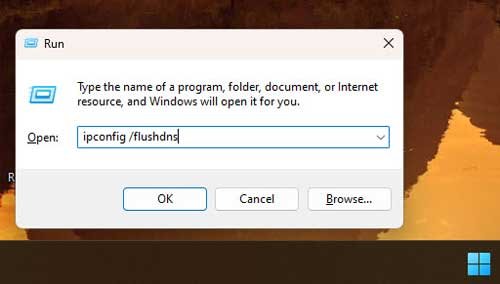
4. The Command Prompt will launch, execute the flush command, and close automatically.
How to View DNS Cache in Windows 11?
If you want to see the DNS cache stored on your Windows 11 PC, you can use the “displaydns” command. Open the Command Prompt, type in “ipconfig /displaydns” and press Enter. This will display all the DNS content.
You can export DNS content to a text file using the command “ipconfig /displaydns > dnscachecontents.txt“. This will save the DNS cache contents to a text document in the current folder.

