
Notepad is an essential text editor built into every version of Windows. Until recently, it was a basic text editor, but in Windows 11, Microsoft has added several advanced features, including spell check and autocorrect functionalities.
The spell check feature in Notepad highlights misspelled words, and the autocorrect feature corrects typing errors. If you use Notepad for your daily work on Windows 11, this might be an useful feature. Here’s how to turn on the spell check and autocorrect features.
Note that although it has been over a year since Microsoft added these features to Notepad, many users are just now starting to receive them. The spell check and autocorrect features are available with the latest version of Notepad, so be sure to check for any updates to the application.
Table of Contents
How to Turn On Spell Check and Autocorrect in Notepad
1. Open Notepad app on your Windows 11 PC.
2. Click Settings (gear icon) on the top-right corner of the window.
3. On the next screen, scroll down and under Spelling section turn on the toggle next to spell check and autocorrect.
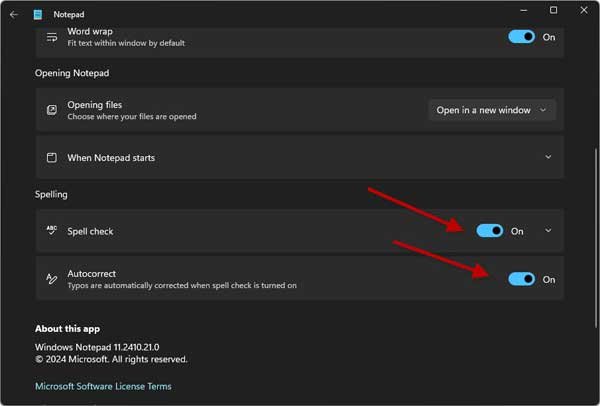
4. Clicking on the Spell check dropdown menu, you can enable or disable spell check for various file types, .txt, .md, .lic, .lrc, .srt and .ass.
You have successfully activated the spell check and autocorrect features in Notepad. Furthermore, you can also enable these features directly in Windows 11.
When you enable this feature, the system will highlight misspelled words and automatically correct typos across all applications. Here’s how to enable it.
Enable Spell Check and Autocorrect Features in Windows 11
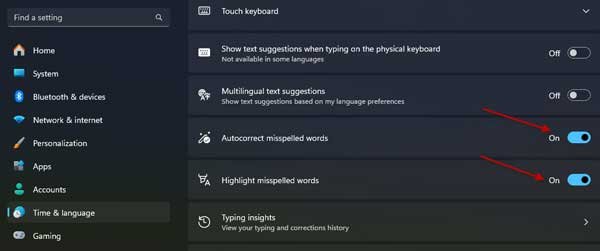
1. Open Settings app and click Time & Language menu.
2. In Time & Language settings, click Typing.
3. Next, turn on the toggle next to Autocorrect misspelled words and Highlight misspelled words.
This article provides a comprehensive guide on how to enable Spell Check and Autocorrect features in Notepad and Windows 11. Discover step-by-step instructions to enhance your writing experience and improve accuracy in your documents.