

The IF function is one of Excel’s most powerful and commonly used tools. It allows you to make decisions in your spreadsheets by testing conditions and returning different results based on whether those conditions are true or false. But what exactly makes up Excel IF function or IF statement?
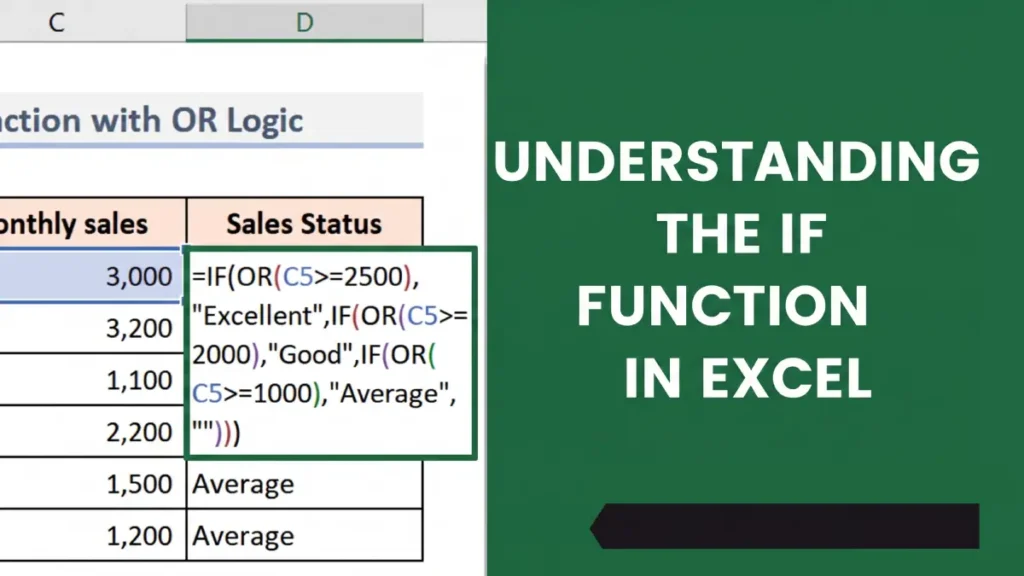
Understanding Excel’s IF Function
The IF function in Excel has three parts and uses this simple structure:
=IF(condition, value_if_true, value_if_false)
The function requires exactly three components, separated by commas. Here’s what each one does:
1. A Condition (The Logical Test)
The condition is the question you’re asking Excel to evaluate. It’s any logical expression that can be answered with TRUE or FALSE. Common examples include:
A1 > 10(Is the value in A1 greater than 10?)B2 = "Yes"(Does B2 contain the text “Yes”?)C3 < 100(Is C3 less than 100?)
2. What to Display If the Condition Is Fulfilled (Value If True)
This is the result Excel will show if your condition evaluates to TRUE. It can be:
- A text value:
"Pass" - A number:
100 - Another formula:
A1 * 2 - An empty cell:
""
3. What to Display If the Condition Is Not Fulfilled (Value If False)
This is the result Excel will display if your condition evaluates to FALSE. Like the true value, it can be:
- A text value:
"Fail" - A number:
0 - Another formula:
A1 / 2 - A message:
"Try again"
Example of using IF function:
Let’s say you’re tracking student grades. You want to display “Pass” if a student scores 60 or higher, and “Fail” if they score below 60.
Your formula would look like this:
=IF(A1>=60, "Pass", "Fail")
- Condition:
A1>=60(Is the grade in A1 greater than or equal to 60?) - Value if true:
"Pass"(Display this if the condition is TRUE) - Value if false:
"Fail"(Display this if the condition is FALSE)
What About Option A?
You might notice that “What not to display” isn’t one of the three parts. Excel’s IF function doesn’t have a component for specifying what NOT to display. Instead, it focuses on what TO display in each scenario.
Key Takeaway
Remember: The IF function always needs exactly three parts – a condition to test, a result for when that condition is true, and a result for when it’s false. This simple structure makes it incredibly versatile for automating decisions in your spreadsheets.
Once you master the basic IF function, you can even nest multiple IF statements together to create more complex decision trees. But that’s a lesson for another day!

