

The TEXTSPLIT function in Microsoft Excel lets you quickly break down large text entries from one cell into multiple cells, making it easier to organize and work with your data efficiently. Whether you’re organizing a list of cities, product names, or any comma-separated data, this function streamlines the process in seconds.
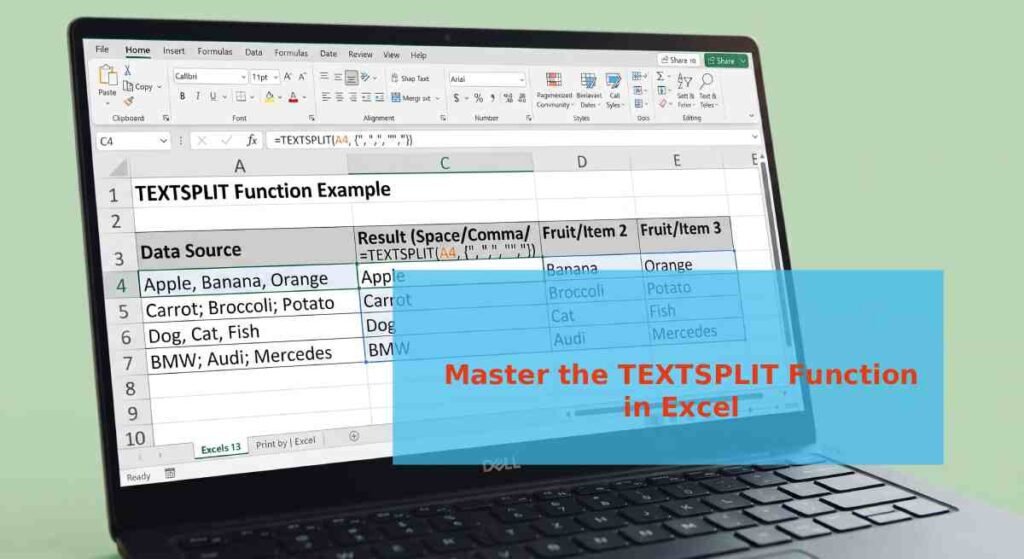
Table of Contents
What Is the TEXTSPLIT Function?
The TEXTSPLIT function is available in Excel Office 2024 and allows you to quickly separate large text from a single cell into multiple cells based on a delimiter character you specify.
Instead of copying and pasting individual items manually, you can parse an entire list with a single formula. This is particularly useful when working with imported data, databases, or any consolidated text that needs to be distributed across columns.
The syntax is =TEXTSPLIT(text, delimiter)
Tip: Note that Google Sheets has also a similar feature and the syntax is =SPLIT(text, delimiter)
How to Use TEXTSPLIT in Excel
Getting your data ready is the first step. Paste your list into a single cell, ensuring each item is separated by a consistent character. Here’s what you need to do:
1. First, paste your list into a cell: For example, in our example ‘New Delhi, Mumbai, Kolkata, Panjab’ in cell A1. Make sure each item is separated by a delimiter such as a comma, semicolon, slash, hyphen, or even a space.
2. Next, click on the destination cell: Select the cell where you want the first item to appear (for example, cell F1 for “New Delhi” in our example).
3. Enter the TEXTSPLIT formula: Type the formula: =TEXTSPLIT(A1, ", ") [Replace A1 with your source cell reference].
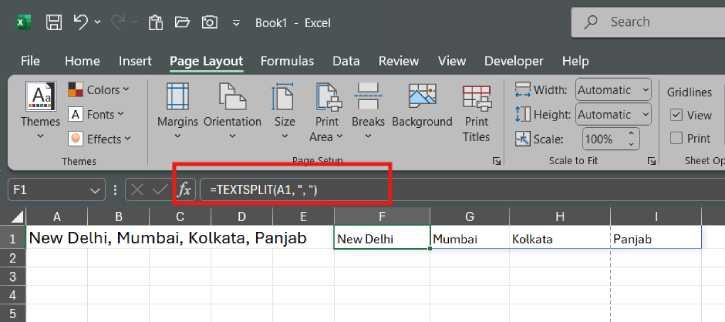
4. Between the quote marks, specify your delimiter (comma and space in this example)
5. Adjust the delimiter as needed — If your list uses a different separator, modify the formula accordingly:
- For slash-separated lists:
=TEXTSPLIT(A1, "/ ") - For space-separated lists:
=TEXTSPLIT(A1, " ") - For semicolon-separated lists:
=TEXTSPLIT(A1, "; ")
6. Press Enter — Your text will instantly populate across multiple cells horizontally.
FAQ
Q: What delimiters does TEXTSPLIT support?
A: TEXTSPLIT works with any character or string as a delimiter, including commas, semicolons, slashes, hyphens, spaces, and custom text strings. Simply specify the delimiter between the quote marks in your formula.
Q: Will TEXTSPLIT split my data vertically or horizontally?
A: By default, TEXTSPLIT splits data horizontally (across columns). The function automatically expands across as many cells as needed to accommodate all items in your list.
Q: Can I use TEXTSPLIT with multiple delimiters at once?
A: TEXTSPLIT is designed for a single delimiter per formula. If your data uses multiple different delimiters, you may need to clean and standardize your data first, or use nested formulas for more complex scenarios.
Q: Is TEXTSPLIT available in all versions of Excel?
A: TEXTSPLIT is a new feature introduced in Excel Office 2024. If you’re using an older version of Excel, you won’t have access to this function. Consider updating to the latest version to enjoy this and other new features.
Q: What happens if there’s no delimiter in my text?
A: If your text doesn’t contain the specified delimiter, the entire text will appear in a single cell. The function relies on finding the delimiter to split the content.
Conclusion
The TEXTSPLIT function is a powerful time-saver for anyone working with consolidated text data. By automating the process of separating items into individual cells, you can focus on more strategic tasks instead of repetitive manual work. Whether you’re organizing geographic locations, product inventories, or customer lists, this Excel 2024 feature streamlines your workflow and reduces the risk of manual errors.
Start using TEXTSPLIT today and experience how Excel can work smarter for you. With just a simple formula, you’ll transform messy, consolidated data into clean, organized spreadsheets—quickly and smoothly.

