In Summary:
Secure sign-in adds extra security to Windows 11.
Users need to press CTRL+ALT+DEL before log into the system.
Enable it from User Account setting or using Local Security Policy.
Windows 11 incorporates several robust security features to safeguard your computer against unauthorized access. Among these features is Secure Sign-In, which shields your system from malicious programs that attempt to replicate login screens to steal passwords. When enabled, users are prompted to press CTRL+ALT+DEL before signing into Windows, adding an additional layer of protection.
In this guide, we will explore the process of enabling (and disabling) the secure login feature in Windows 11. You have two options for enabling secure sign-in on your Windows PC: utilizing User Account settings or configuring Local Security Policies. Both methods enhance the overall security posture of your system.
Contents
How to Enable (or disable) Secure Login in Windows 11?
First Method: Via User Accounts
- Press Win + R shortcut key to launch Run command box.
- Type netplwiz in the run box and click OK.
- It will open User Accounts window.
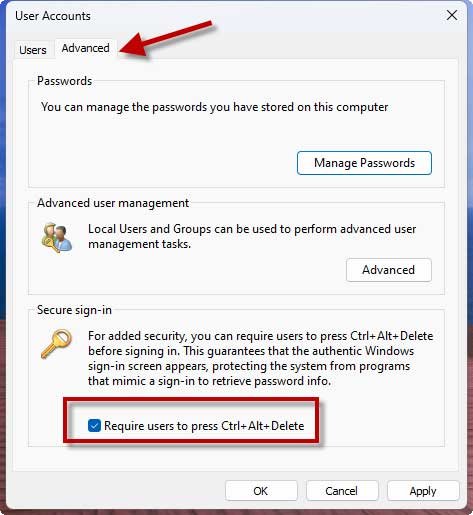
- In User Accounts, click Advanced.
- Under Secure sign-in, check the option Require users to press CTRL+ALT+DEL. Click Apply and then OK.
Second Method: Via Local Security Policy
1. Press Win + R shortcut key to open Run command box.
2. Type secpol.msc in the search box and click OK.
3. It will open the Local Security Policy window.
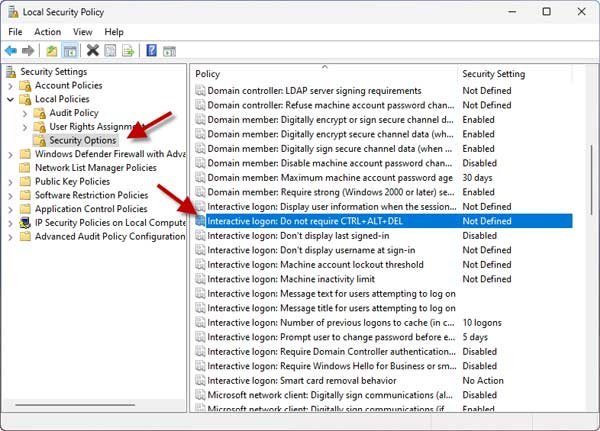
4. Now, go to Security Settings > Local Policies > Security Options.
5. In the right pane, scroll down and locate Interactive Logon: Do not required CTRL+ALT+DEL policy setting named. By default, the setting is Not Defined.
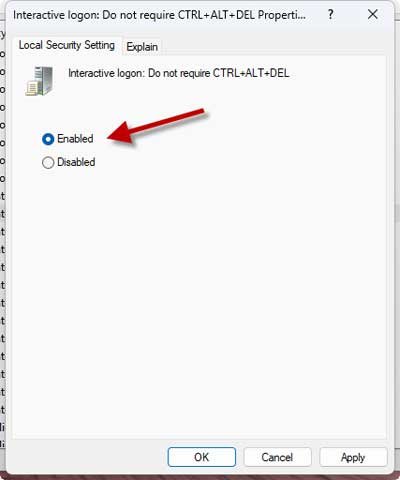
6. Double click on the policy setting to modify its status. In the policy configuration window, select Disabled and click Apply, OK.
7. Once done, update the Group Policy engine using gpupdate /force command to make changes effective.
Now when you login into your Windows 11, you need to make secure sign-in by first pressing CTRL+ALT+DEL and then enter your credentials.