

ChromeOS Flex is a minimalist, low resources operating system that you can be installed on old PC or laptop that doesn’t have enough power to run Windows 11. ChromeOS Flex is suitable for daily work, personal use, and education. ChromeOS Flex provides easy access to Google’s online tools, such as Chrome browser, Docs, Gmail, and YouTube.
In this guide, let us learn how to create a bootable ChromeOS Flex disk and how to install it on your old computer. Note that ChromeOS Flex reqires at least 4GB of RAM, 16GB of storage, and a 64-bit Intel or AMD CPU for smooth working.
Important: Note that you old computers may not compatible with ChromeOS Flex. For a list of certified models, please refer to Google’s certification list.
How to Create a ChromeOS Flex Bootable USB Disk?
1. On your computer, open the Google Chrome browser, go to Chromebook Recovery Utility extension page and install it.
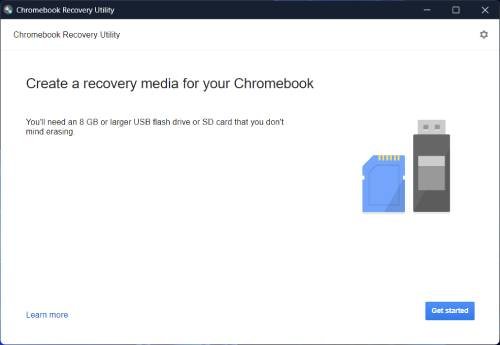
2. Open the Chromebook Recovery Utility on your browser and click ‘Get started’ button.
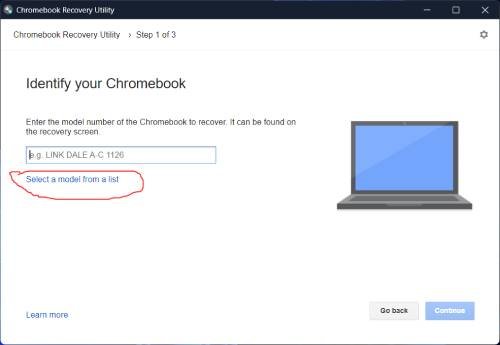
3. On the next screen, click on the ‘Select model from a list’ option and click ‘Continue’ button.
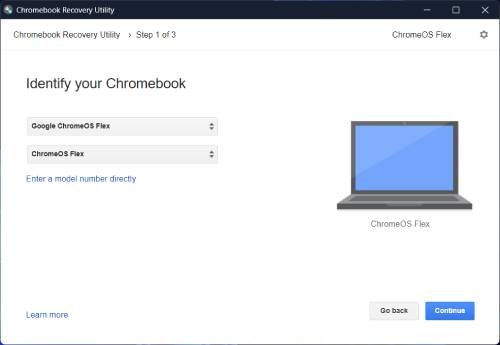
4. Now, click on the ‘Select a manufacturer’ dropdown menu and select ChromeOS Flex from the list.
5. Next, click on the ‘Select Product’ dropdown menu, choose the ChromeOS Flex and click the ‘Continue’ button.
6. Now, connect a 8GB/16GB USB drive to your computer and click ‘Continue’ button.
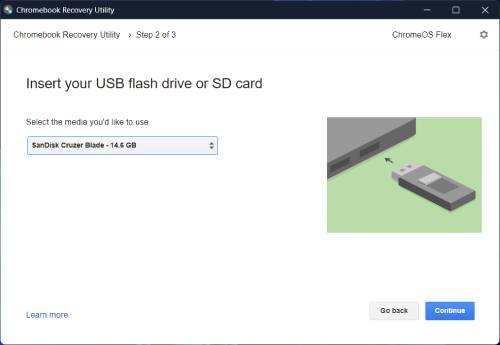
7. In the next window, click on Create Now button. It will format the USB drive and create the bootable USB. Once done, click on the ‘Done’ button.
You have now created a bootable ChromeOS Flex USB disk. Now, let us learn how to install it on your computer. You can run the ChromeOS Flex from the USB drive without installing it or permanently install it.
ALSO READ: How to Format ChromeOS Flex Bootable USB Drive
How to Install ChromeOS Flex on Your Old Computer
1. Turn off your Windows computer and plug the Chrome OS Flex bootable disk into your PC.
2. Next, turn on the PC and boot from the USB. Press the boot key (F2, F12, Del, F9, ESC, or the Delete key, (Boot keys might be different on different PCs) and select Chrome OS Flex drive.
3. After booting it, change the installation language (if applicable) and click the ‘Get Started’ button.
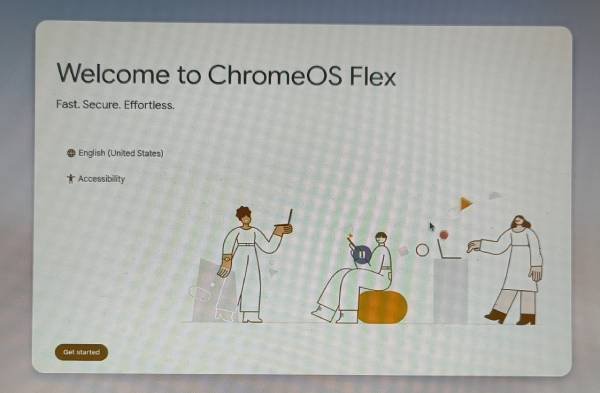
4. Now, if you want to try ChromeOS Flex without installing it, select the ‘Try It First’ option and follow the on-screen instruction.
5. To install ChromeOS Flex, select the Install option and click ‘Next’ button.
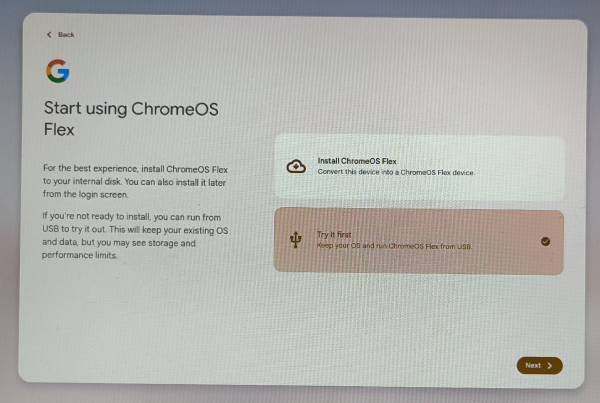
6. Click the Install button to continue with the setup.
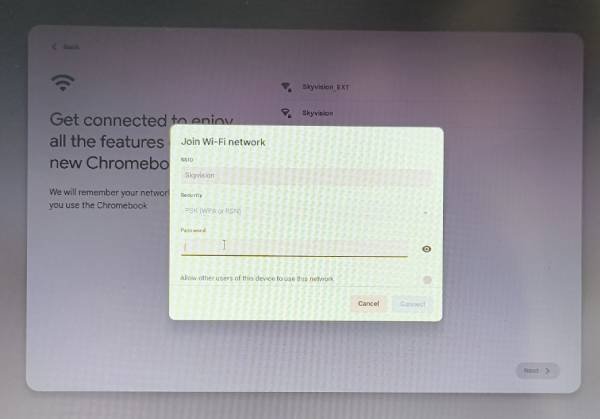
7. After installation, click the Get started button, and connect to your wireless network.
8. On the next screen, click the “For personal use” option and then sign in with your Google account.
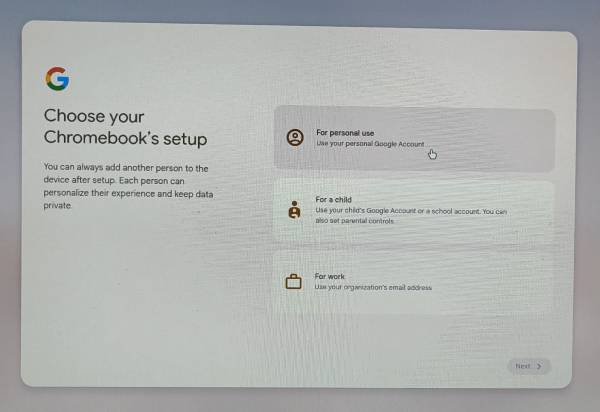
9. Next, follow the on-screen instructions to complete your ChromeOS Flex PC.
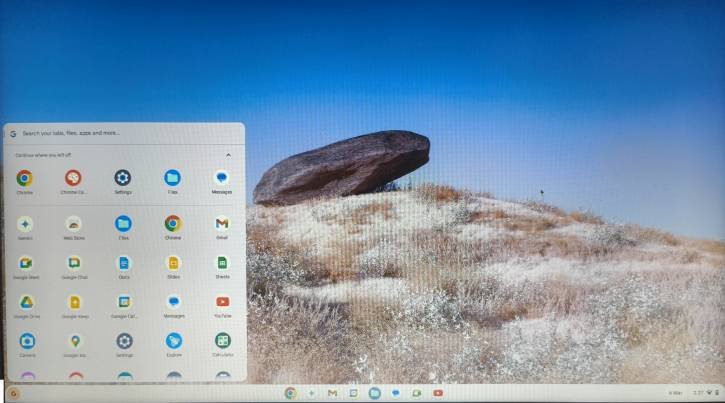
The main goal of the lightweight ChromeOS Flex is to replace Windows and macOS on older computers. This version of ChromeOS is designed for personal, business and educational use and can be managed remotely, similar to Chromebooks. It is also features Gemini, Family Link accounts, Smart Lock, Instant Tethering, Nearby Sharing and more.

