

PowerShell is a command-line tool developed by Microsoft for Windows and other operating system. With it you can run commands, create scripts, and manage files and applications more efficiently than using the traditional command prompt. In this guide, let us learn how to use PowerShell for scanning viruses and malware (including offline scanning) on a Windows 11 computer.
Benefits of Using PowerShell for Scanning a Windows PC for Virus and Malware
Using PowerShell for scanning a Windows PC for viruses and malware has few adavantages. It allows automation and customization of the scanning process.
It can leverage built-in security tool, run scripts to check for malware, and provide detailed info, making it a powerful option for advanced users and system administrators.
Another advantage of PowerShell is that if you cannot update the Windows Security app and virus definitions, you can use this command-line tool to update the app and perform a full system scan with the latest virus signatures.
How to Use PowerShell to Update Windows Security App and Run Full System Scan?
Note that if you have disabled Windows Security and installed third-party security software, this command will not function.
1. First, open PowerShell as administrator on your Windows 11 PC.
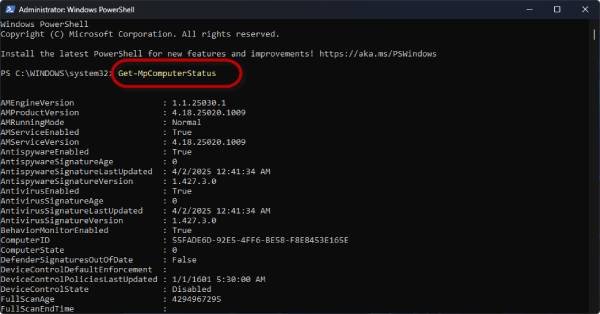
2. In the PowerShell window, type Get-MpComputerStatus and press Enter.
[This command will display detailed info about Windows Security. If the security tool is active on your system, the AntivirusEnabled field will show “True.”]
3. To update the Windows Security app manually, type the command Update-MpSignature in PowerShell window and press Enter.
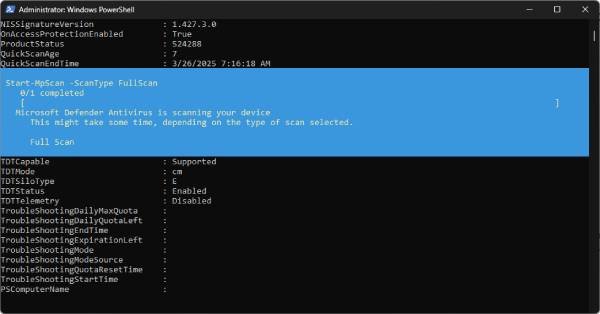
4. Now, to start a full antivirus scan, type the command Start-MpScan -ScanType FullScan and press Enter.
5. Full scan can take some time to finish, so you can run it in the background. Type the command Start-MpScan -ScanType FullScan -AsJob and then press Enter.
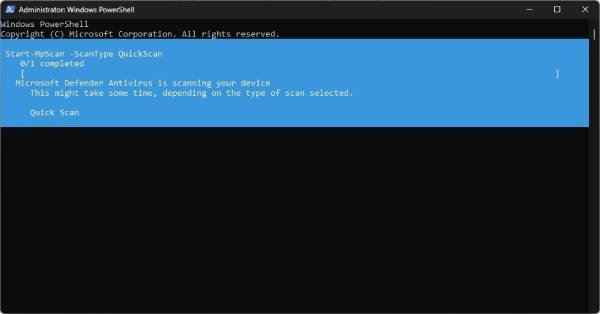
6. To perform a Quick Scan, type the command Start-MpScan -ScanType QuickScan and press Enter.
ALSO READ: How to Enable Tamper Protection in Windows 11 for Enhanced System Security
How to Run Windows Security Offline Scan Using PowerShell
The offline scan feature of Windows Security app is designed to remove malware that is challenging to detect. This scan operates from a trusted environment, which means you may lose any unsaved work. Before starting the offline scan, ensure that you save all open files.
- To run the offline scan, type the command
Start-MpWDOScanin PowerShelland window press Enter.
That is all how to use PowerShell to scan your Windows system for malware. By using this method, you can effectively utilize built-in Windows Security features to ensure your computer remains protected against potential threats.
Conclusion:
I hope this article has been helpful in guiding you through the process of using PowerShell for malware scanning on Windows. By implementing these practices, you can significantly reduce the risk of malware infections and ensure your system runs smoothly and securely. If you have any further questions or need assistance, feel free to reach out for more information.

